HOW TO DRYFLOWERS
Drying flowers is a great way to preserve your flower bouquet and the memories that came with it. Before you start, here's some things to consider before drying your flowers:
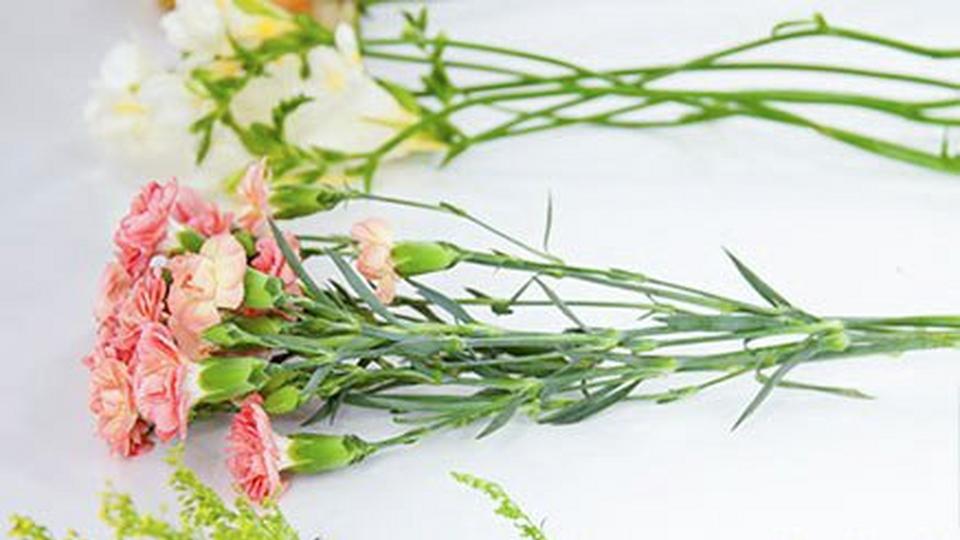
- Blooms with a high water content, such as lilies, are not suitable for drying
- Flowers in full blooms are more likely to lose their petals when drying, so we suggest starting the drying process once the flowers have opened up but have not yet fully bloomed.
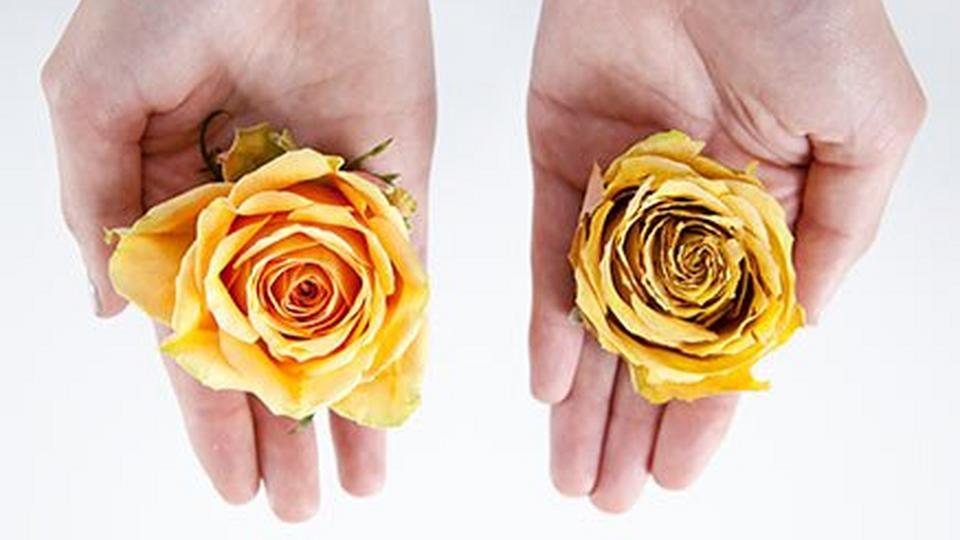
- Some flower colours dry with more vibrancy than others do. Orange & yellow flowers dry with the most vibrancy, while purple and blue flowers can dry dark - consider this if using dried flowers in decorations.
- It is possible to dry whole flowers including their stems, with sunflowers being a great choice.
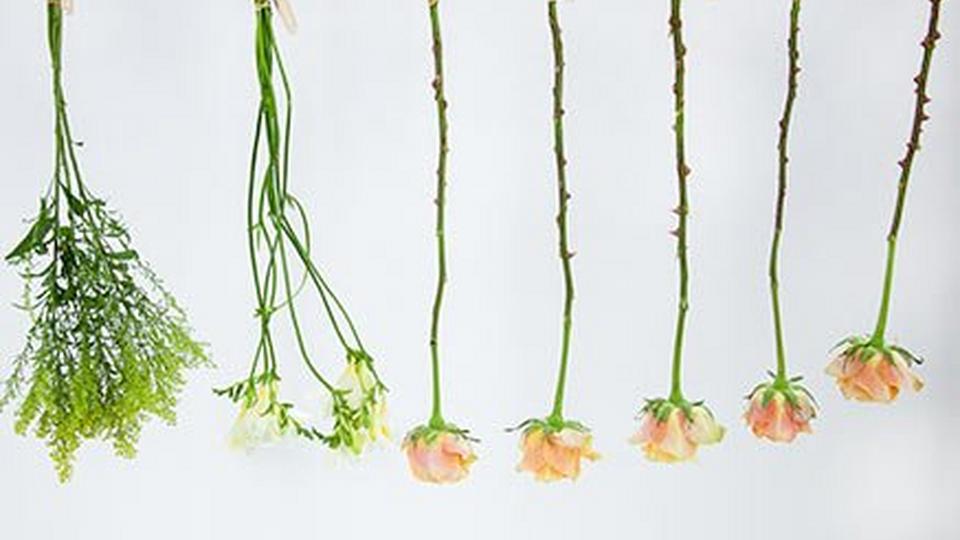
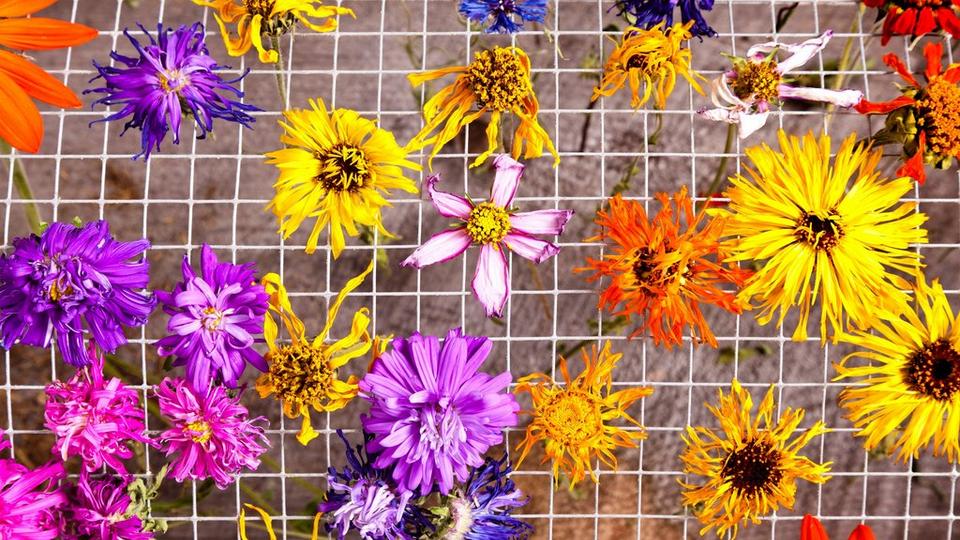
How to Air Dry Flowers
Flowers Suitable for Air Drying
Most flowers which we feature in our bouquets are suitable for air drying. Our favourite flowers to air dry include:
Agapanthus - Eryngium - Chrysanthemum - Carnations - Freesia - Gladiolus - Gypsophila - Gerbera - Peony - Hydrangea - Sunflower - Iris - Lavender - Statice Marigold - Veronica
Tip:If you notice little progress after the first couple of weeks, try hanging in another area of the house that has better circulation during the day.

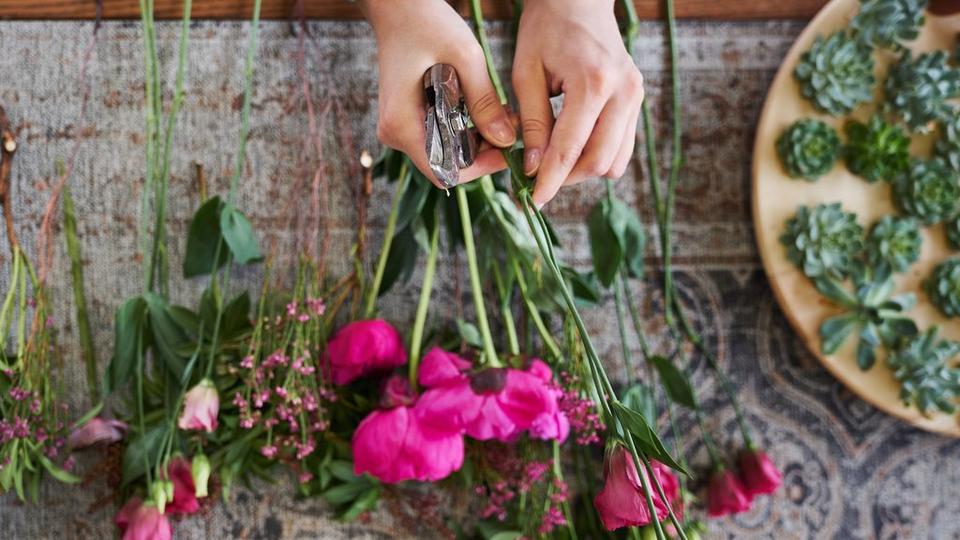
Step One

Step Two
Step Three
Step Four
Step Five

Step Six
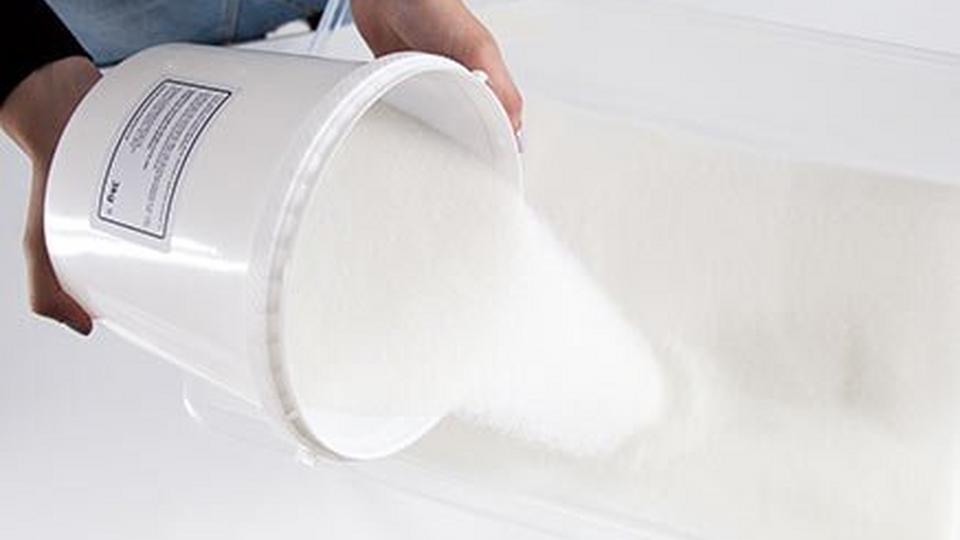
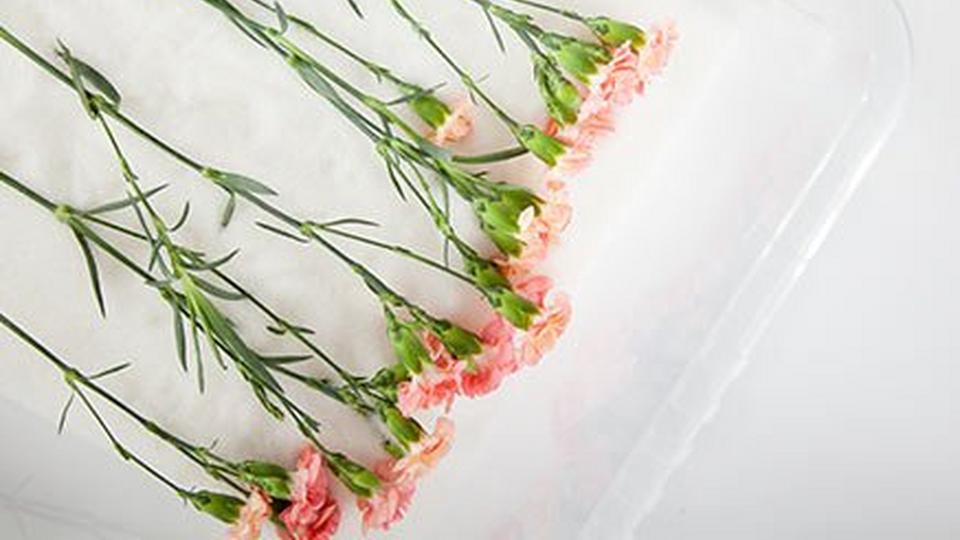
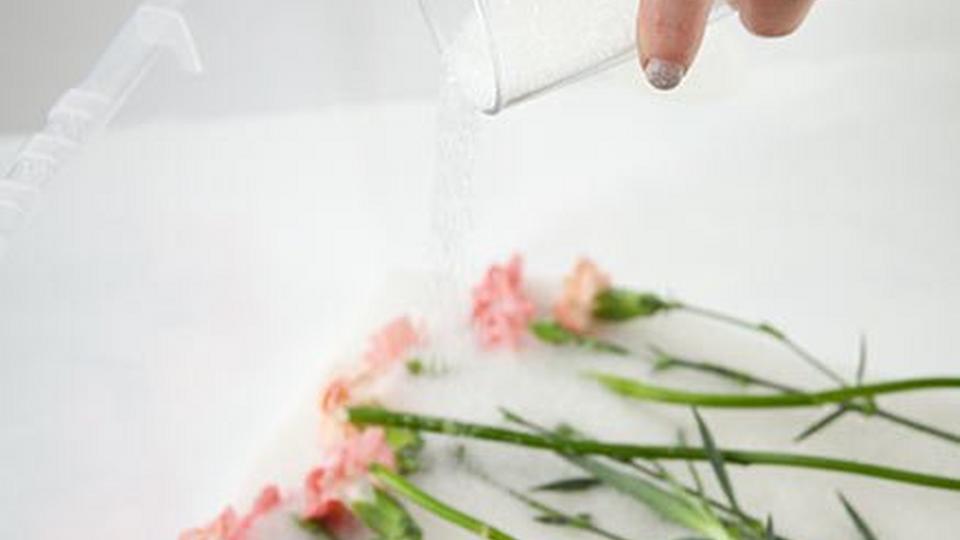
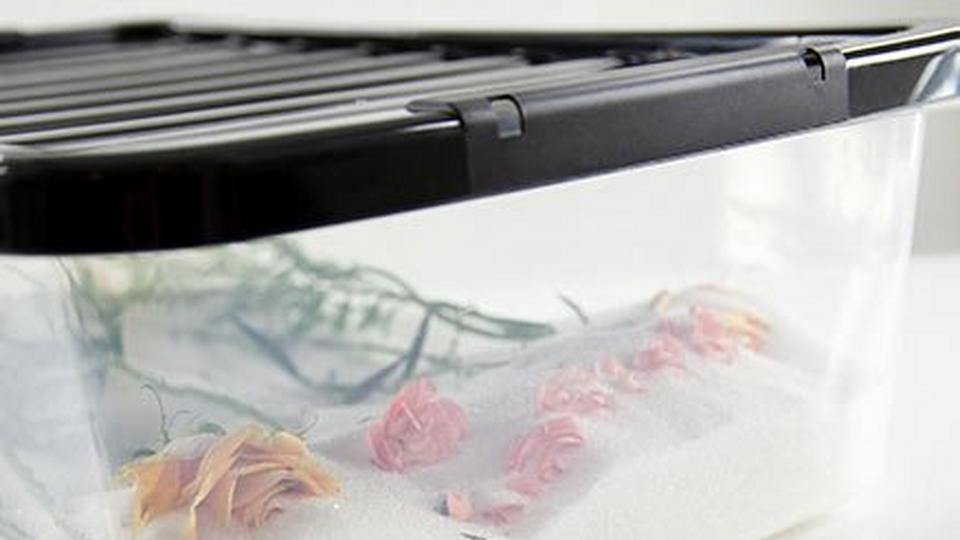
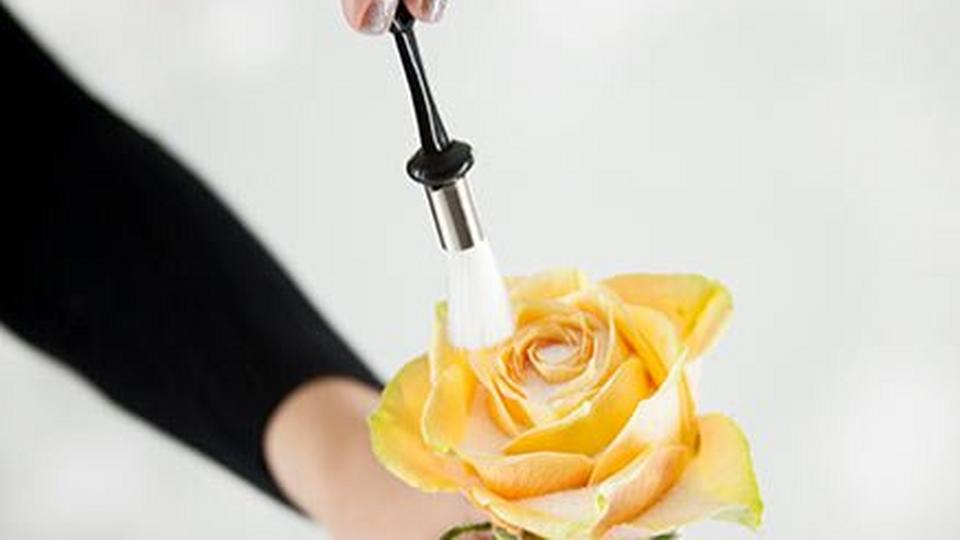
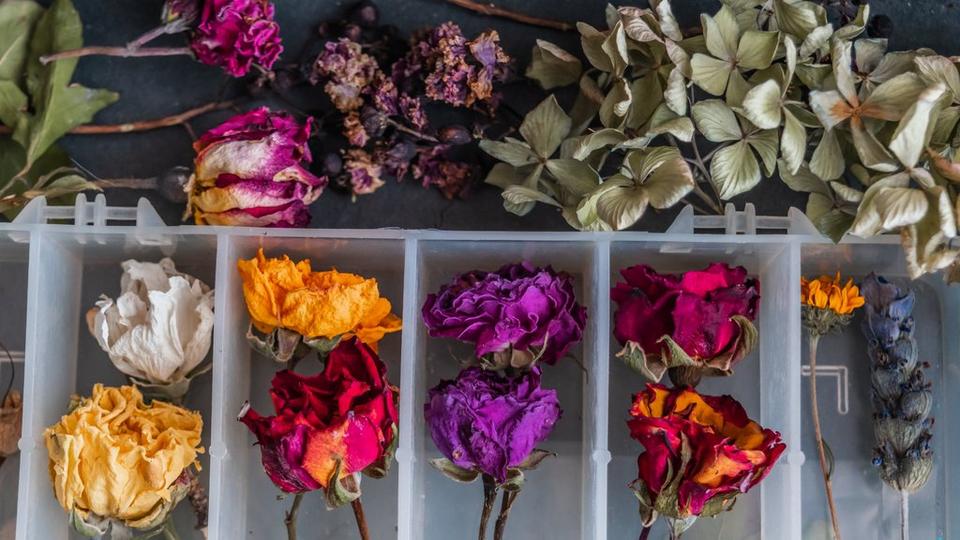
How to Dry Flowers with Silica Gel
Flowers Suitable for Drying With Silica Gel
Most flowers suitable for air drying an have the silica gel drying method applied to them, as the silica gel just helps to speed up the process.
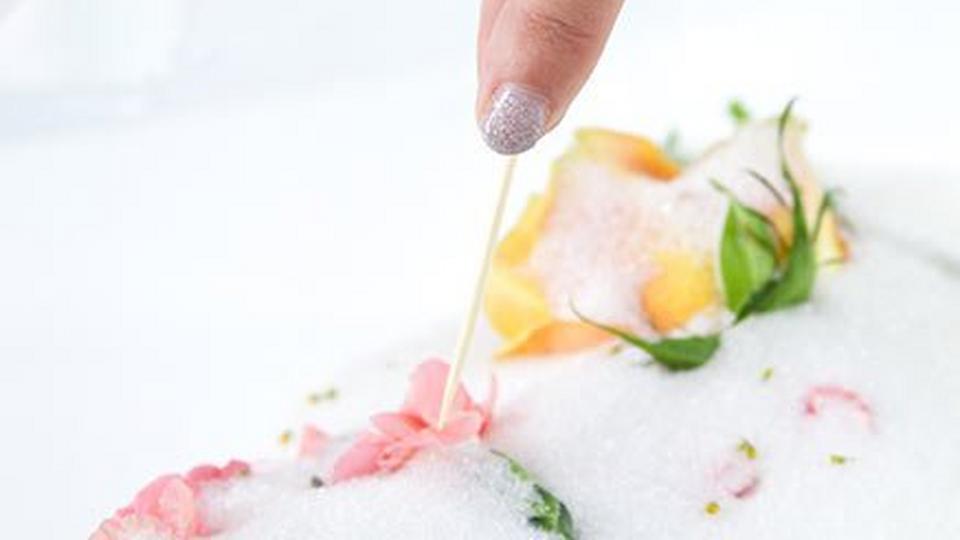
Tip: If you notice that petals have bent or misshapen after covering, use a toothpick to rearrange them, as they will dry in whatever shape they now lie in. Over drying can cause flowers to become brittle and break very easily.
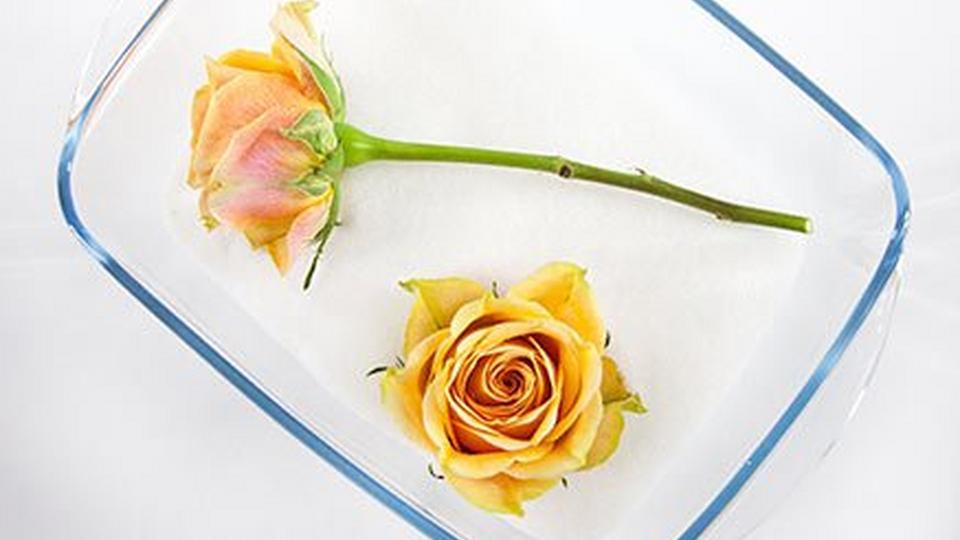
Step One
Step Two
Step Three
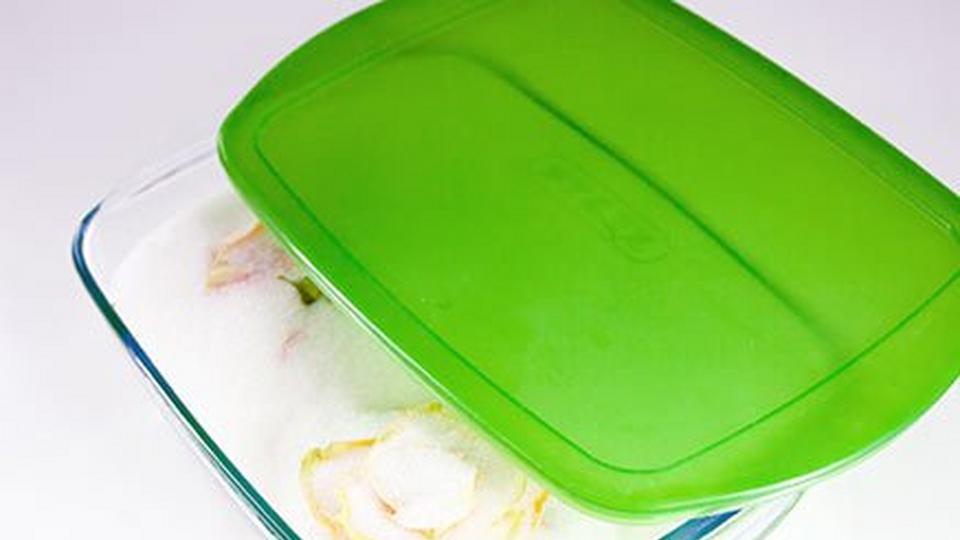
Step Four
Step Five
Step Six
How to Dry Flowers Quickly with a Microwave
Flowers Suitable for Microwave Drying
As a rule, microwave drying does not work well on stems with thick petals. So flowers with multiple thin petals are ideal, such as:
Agapanthus - Dahlia - Anemone - Eryngium - Clematis - Freesia - Carnation - Forsythia - Chrysanthemum - Daffodil - Gladiolus - Gypsophila - Gerbera - Peony Hydrangea - Sunflower - Iris - Solidago - Lavender - Statice - Marigold - Tulip - Pansy - Veronica

Step One

Step Two
Step Three
.jpg?$poi-square$&fmt=auto&qlt=default&fmt.jp2.qlt=60&bg=rgb%28189%2C+210%2C+69%29&w=960&aspect=16%3A9)
Step Four

Step Five

Step Six
Step Seven
.jpg?$poi-square$&fmt=auto&qlt=default&fmt.jp2.qlt=60&bg=rgb%28189%2C+210%2C+69%29&w=960&aspect=16%3A9)
Step Eight
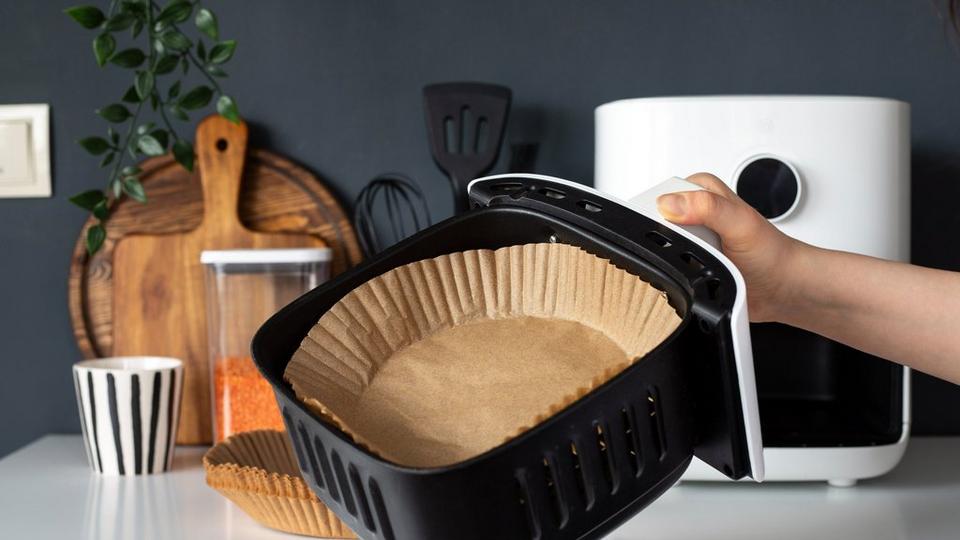
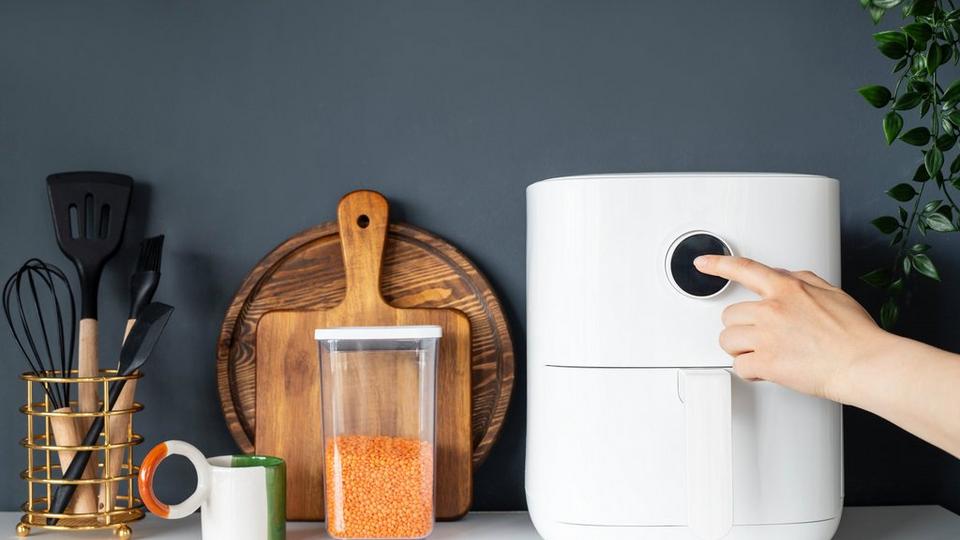
How to Air Fry Flowers
Flowers Suitable for Air Fryer Drying
Not all flowers dry well in an air fryer, so it’s best to choose ones that hold their shape and color. Some great options include:
Roses (especially mini or spray roses) - Chamomile - Lavender - Baby’s Breath - Marigolds - Daisies - Statice - Globe Amaranth
Step One
Step Two
Step Three
Step Four
Step Five